One Day Wooden Tray
Note: All projects performed following instructions found on this site are done at your own risk. Learn more
Us makers and woodworkers often have to build gifts and there’s nothing like being able to make something that looks high-end but only takes one day to make.
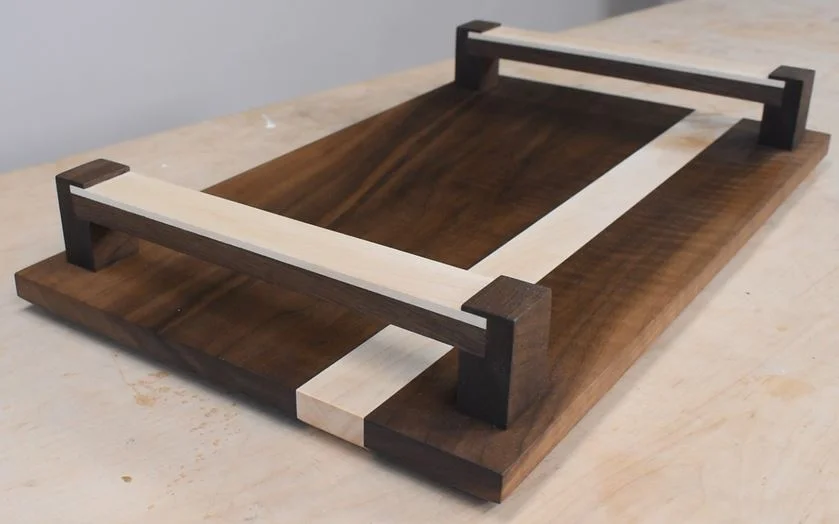
That’s why this modern wooden tray is the perfect woodworking gift project! I made this project in one day. I think it's a fun design that can be customized and batched out with ease.
Supplies
Note: As an Amazon Associate, I earn from qualifying purchases.
Step 1: Build the Base
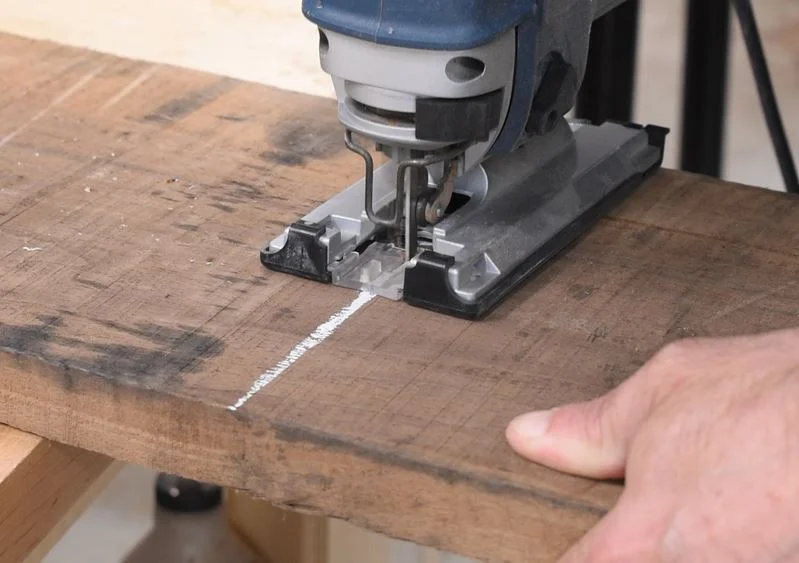
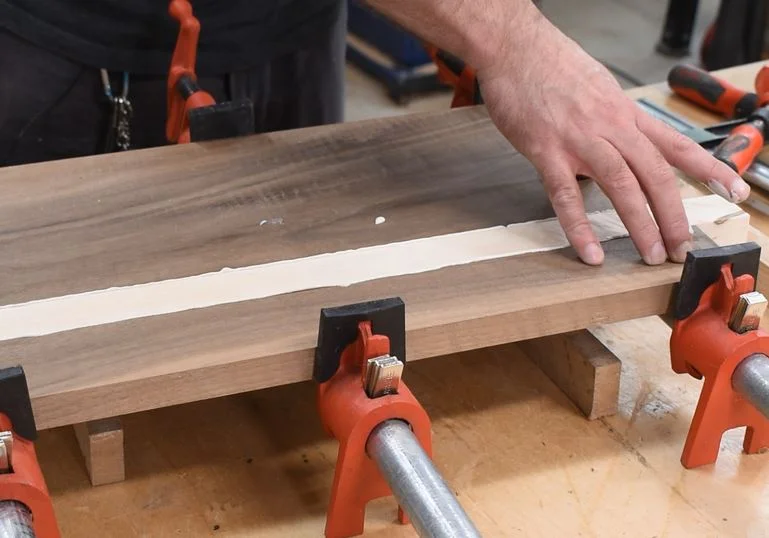
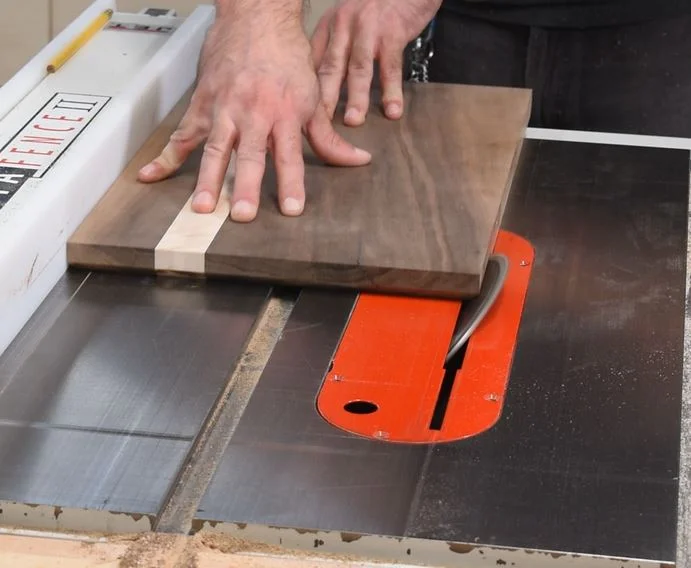
The size of this tray is completely up to you. I made mine approximately 18” long and 12” wide. I cut a piece of walnut slightly bigger than what I want and milled it down to about 1” thick. This is a great project for using pre-milled material.
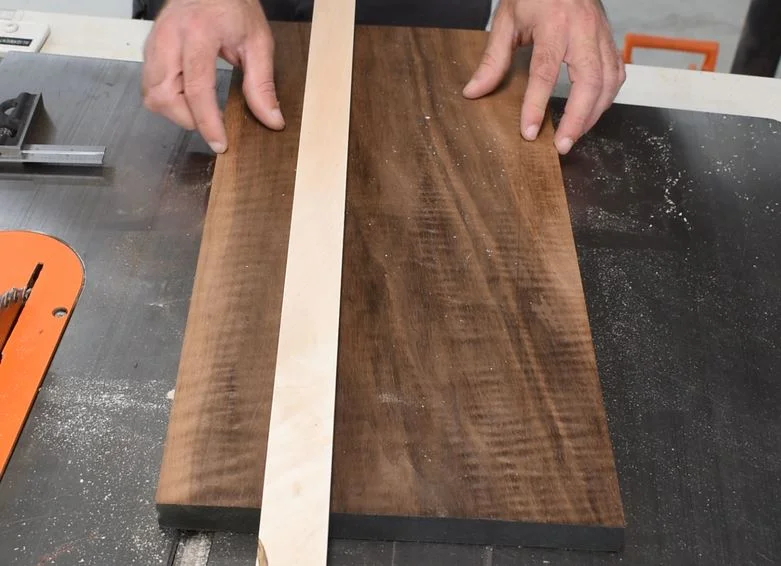
A 3/4” thick board is perfectly fine. I also cut a piece of maple that’s the same thickness but about 1.25” wide. I want to put a maple stripe off-set in the walnut. It should give it a nice, clean look.
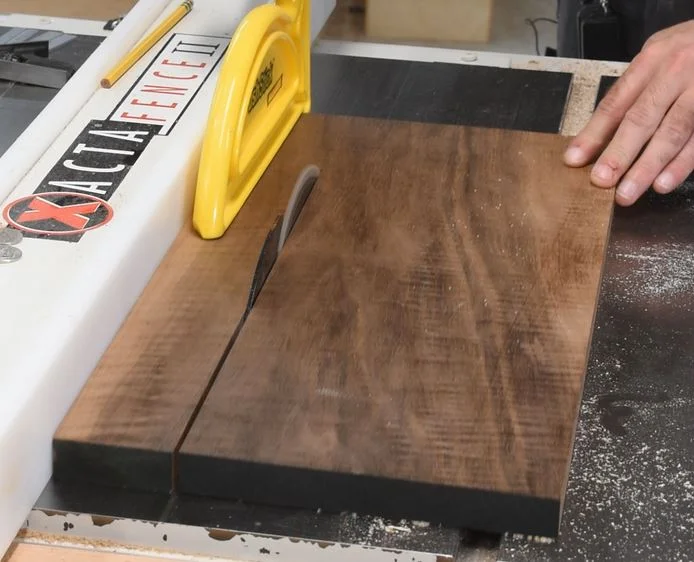
I set my maple board on the walnut board and figured out where I want it. I’m only going by eye and what I feel looks good. I cut the walnut board into two pieces and then glued everything together.
After the glue has dried for a few hours, I sanded the board flat and cut it to rough length. I also set my table saw blade to 45 degrees and cut a slight bevel on the underneath of all of the edges.
Step 2: Make the Handles
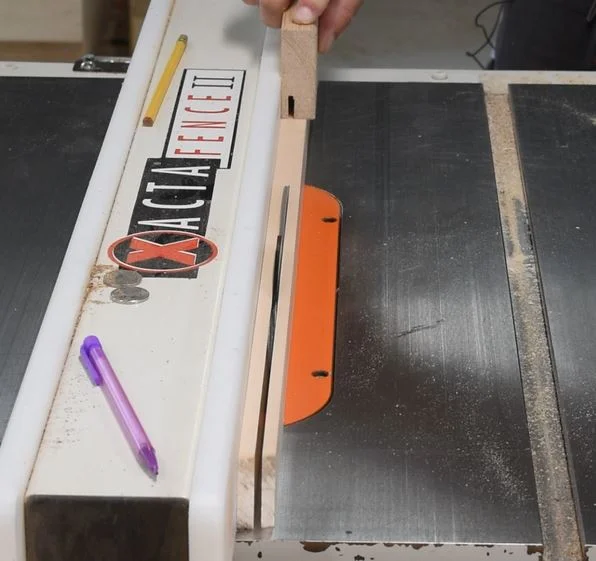
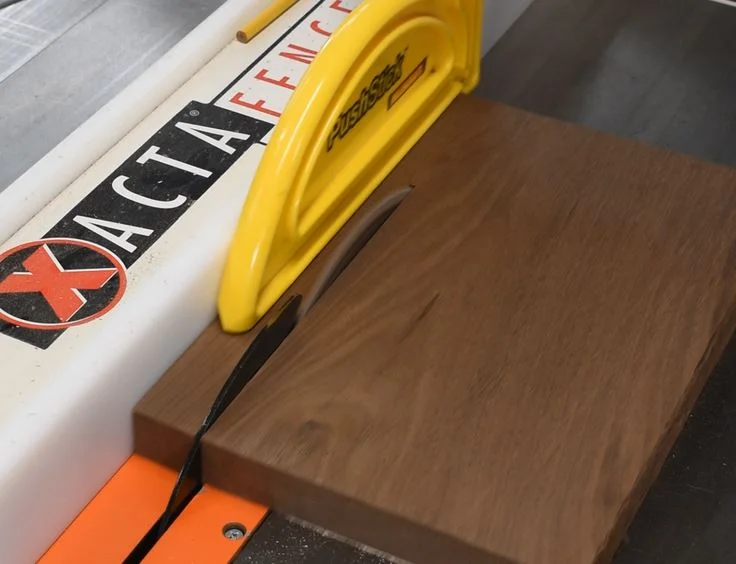
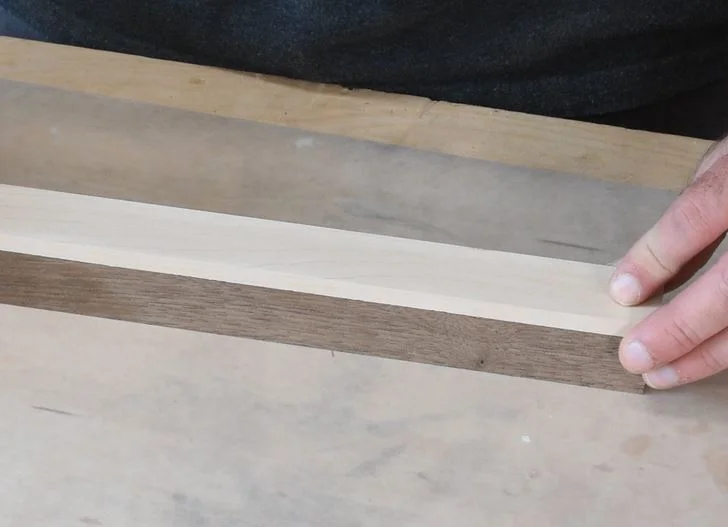
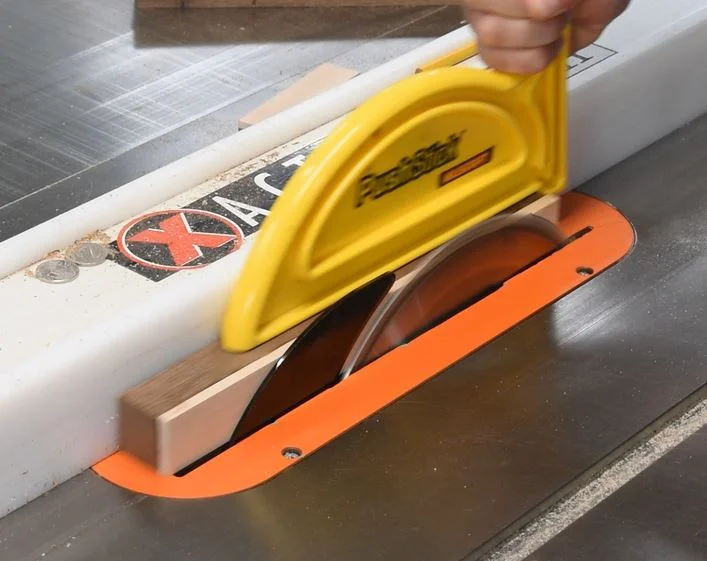
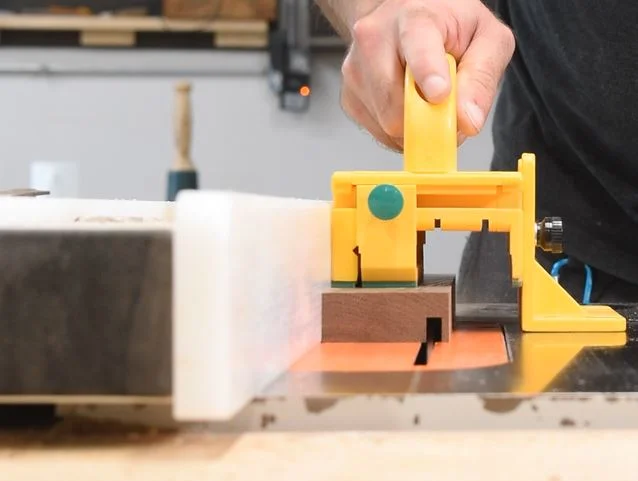
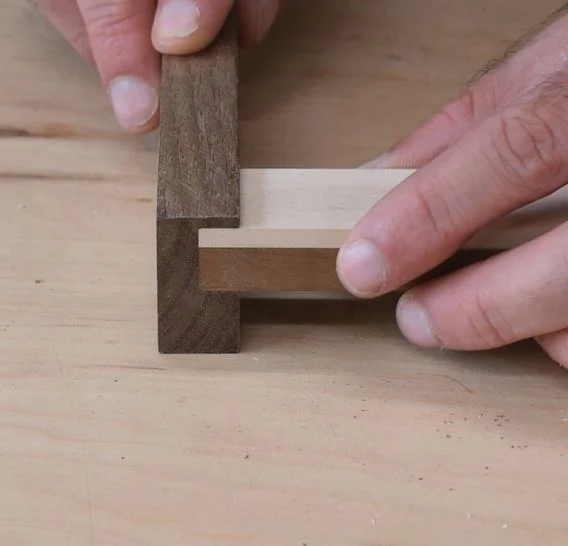
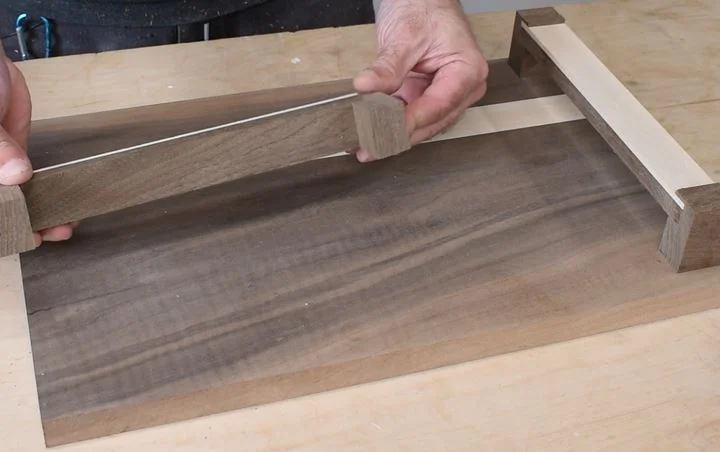
The handles are also made from maple and walnut. They coordinate with the tray base and add to the clean look. I glued the maple to the top of the walnut and cut it to width and thickness.
Visually, I thought it would be nice if the maple was thinner than the walnut. It sort of mirrors the maple stripe in the base, which is smaller than the walnut.
I’ll admit, I don’t know the dimensions of the handle. I honestly didn’t care. Everything about this project is subjective and that's why it's so awesome.
Make the handles the size that seems right for you.
I held the handle in my hand and noticed if it felt too thick or if the handle was too wide. I trimmed down the width and thickness until it felt right.
I did the same thing for the height of the handles. Hold the handles in your hands and see what feels like a proper height.
The handle fits into walnut brackets. These are really easy to make. I used a ripping blade to cut a notch into the walnut, sneaking up on the cut until the handle fit perfectly.
Then I cut the bracket so that it was the same width as the handle. The handle and brackets were glued together.
Step 3: Attaching the Handles
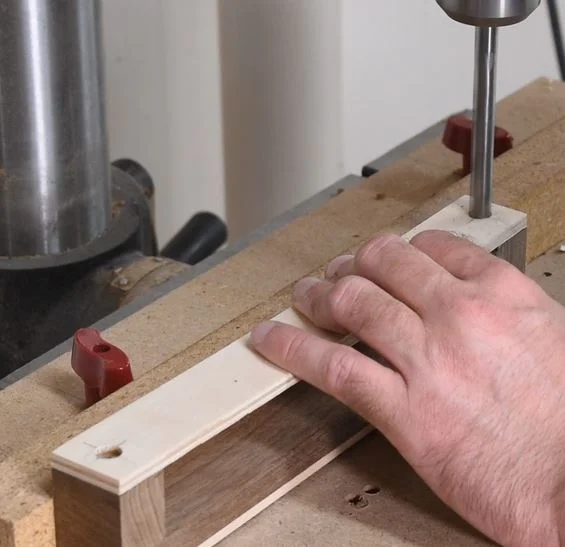
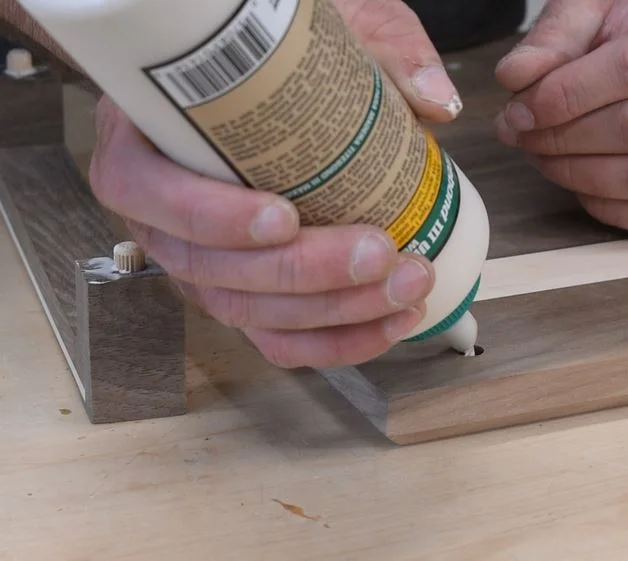
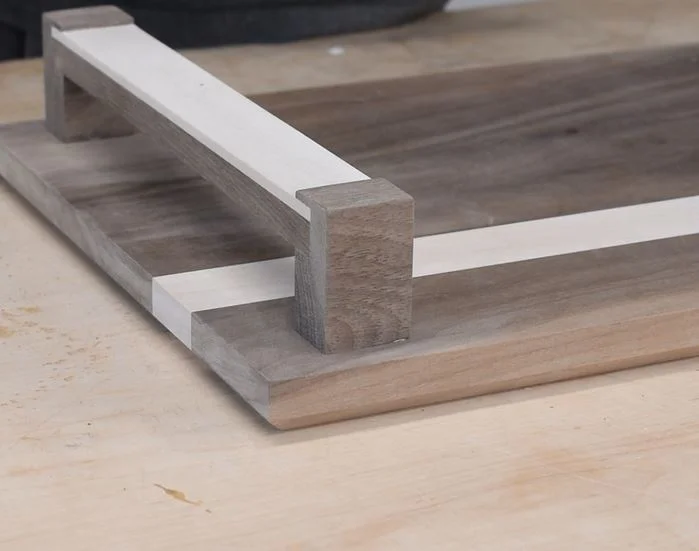
The handles can be attached to the tray in multiple ways. I designed the brackets so that their bottoms are face grain.
That means the brackets can be glued straight to the tray and it will be plenty strong for a decorative tray.
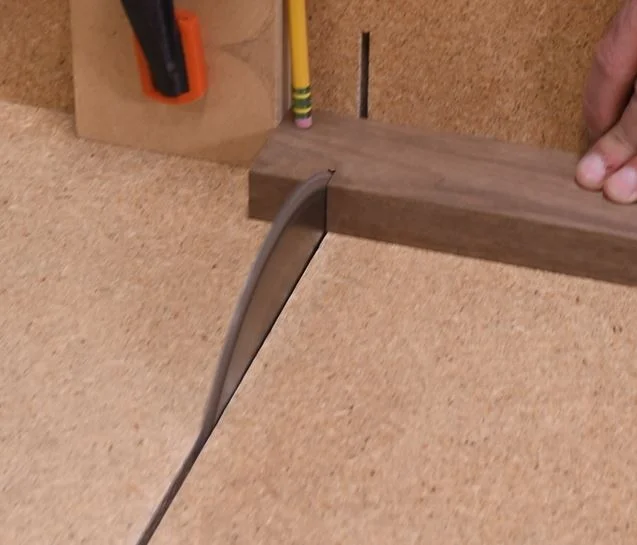
I opted reinforce the handles by adding dowels. I made a quick template by drilling holes into a piece of plywood.
I used this template to drill holes in the bottom of the brackets and then into the tray. A bit of glue and the tray was completely built!
Step 4: Apply Finish
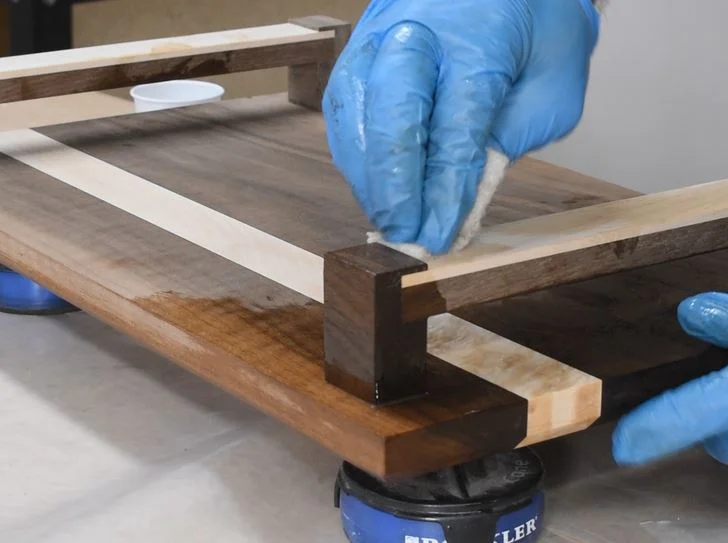
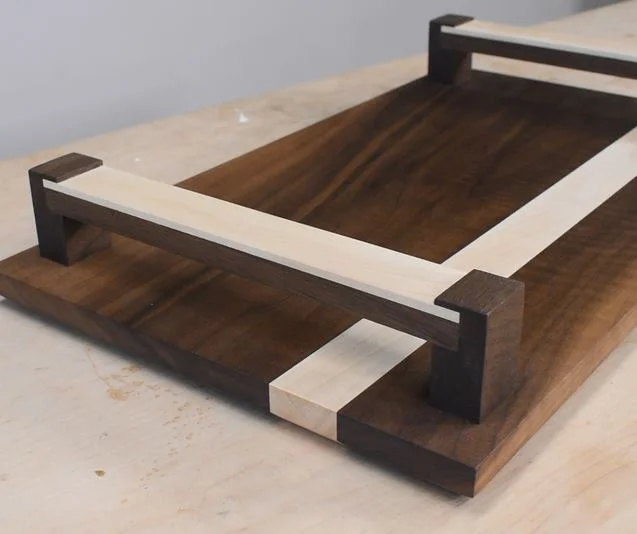
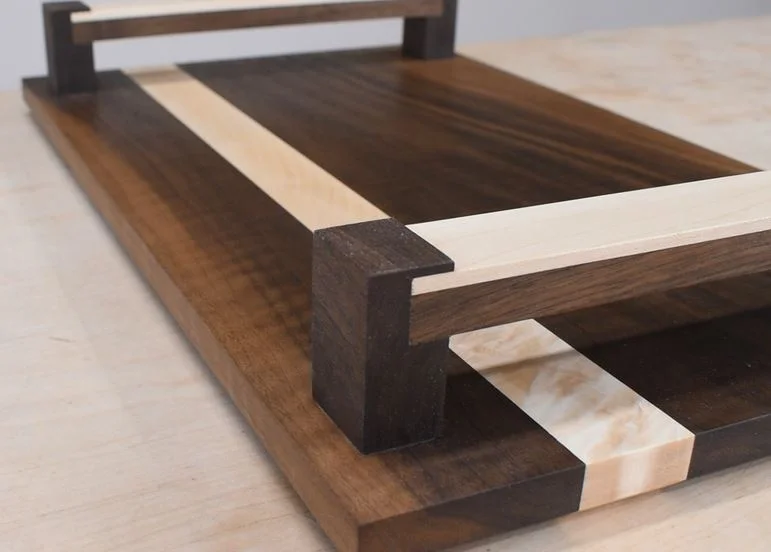
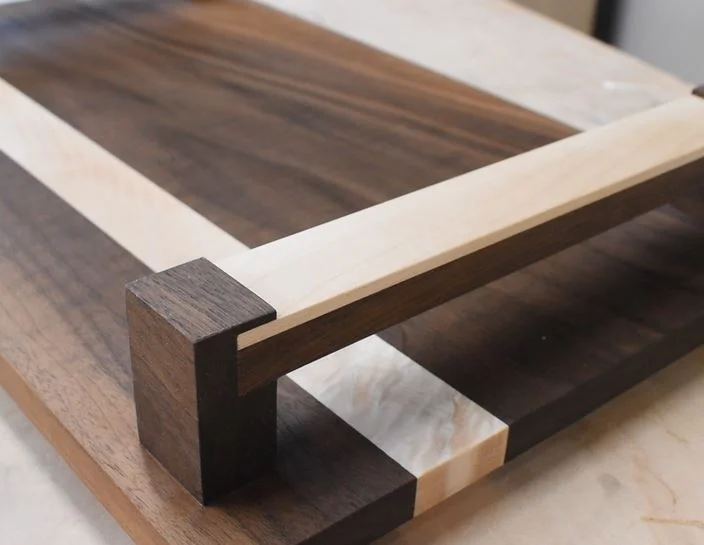
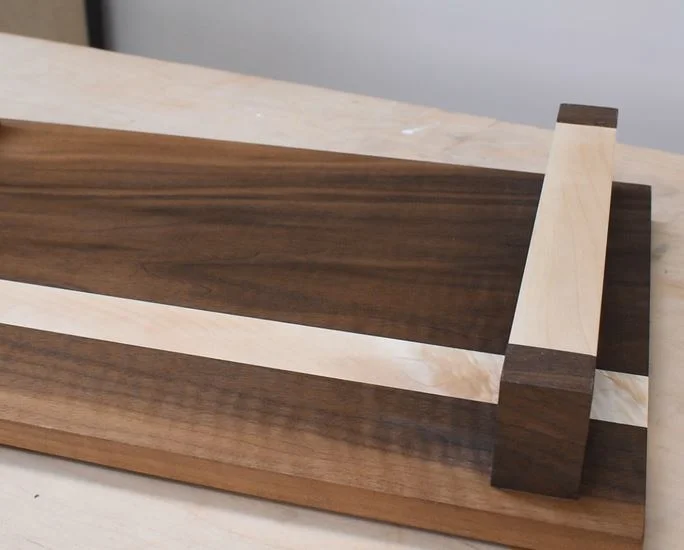
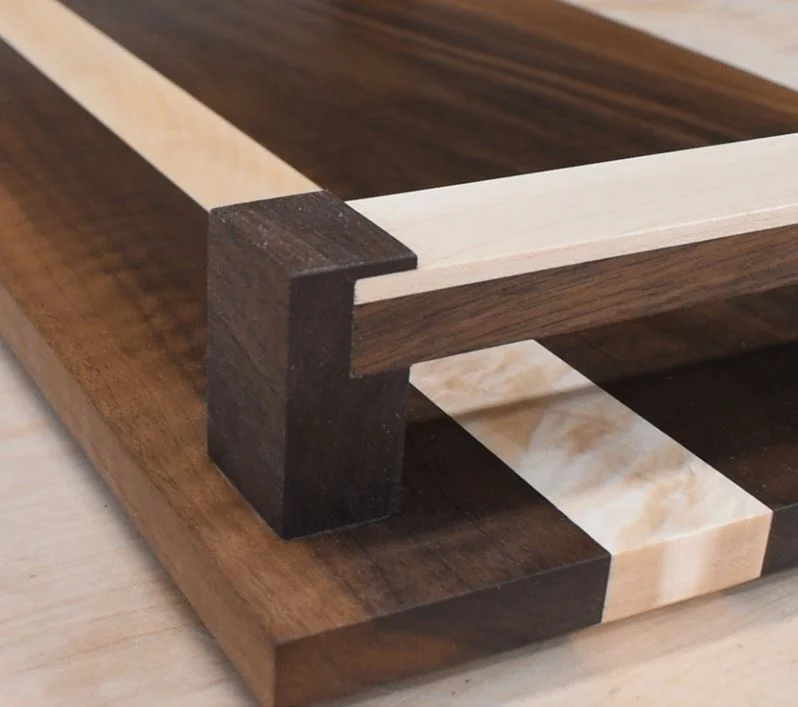
I sanded the whole tray up to 180 grit sandpaper. Then I applied Osmo Top Oil, buffing it into the grain using a white cleaning pad.
The oil really made the walnut and maple pop! I absolutely love the style of this tray. But more importantly, the tray is completely customizable.
You can change the wood species to create different color combinations. You can make the handles wider or taller or shorter.
You can add chamfers or round overs to the tray. Really make it your own.
