Build a Table From Old Barn Board

Note: All projects performed following instructions found on this site are done at your own risk. Learn more
Hey y'all, I'm going to show you how I built a barn board table. The design is based off a table I saw at a store for $800 here and I thought I could make it with the same dimensions using free materials around the shop.
Usually I build props and set pieces for the film industry and don't often get to try my hand at "real" carpentry, so everything I'm outlining here is a mix of me making up things up and otherwise reading tips from wood-working magazines.
So... I got a pile of old barn board under a tarp in a pile behind the train tracks near my place; I was really excited about how aged and beat up they were. However, they ranged in thickness from about 2" to almost 4" so I had to plane them down to get an even thickness.
Unfortunately, by the time I shaved each piece down to uniform thickness the planks were nearly 1 1/2" thick - I almost could have just used standard 2x12 stock.
OK, here's how I made this table:
Step 1: Welding the Base

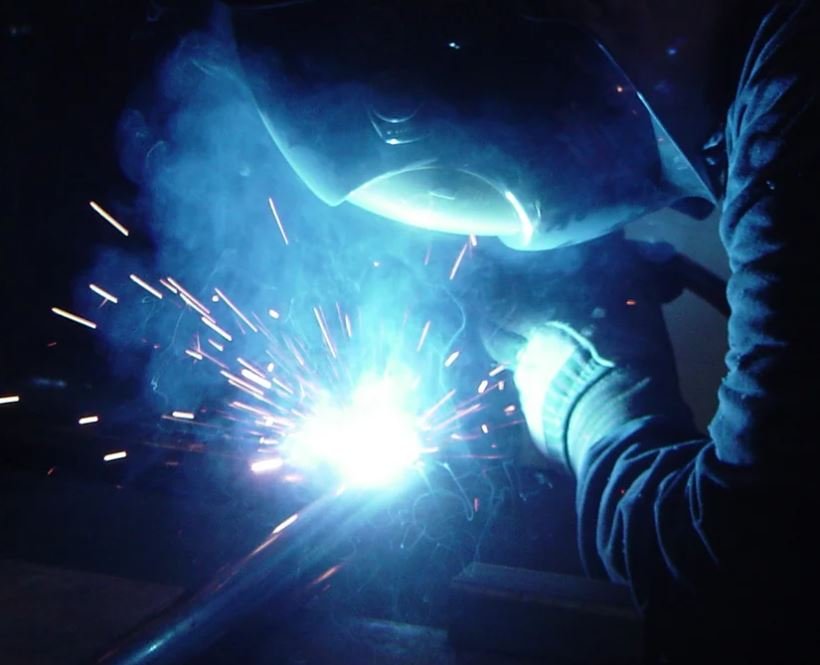
The base is welded from 3/4" x 3/4" mild steel and then painted matte black. I didn't have a photo of this process so I just grabbed a generic welding photo from online!
Step 2: Make the Planks

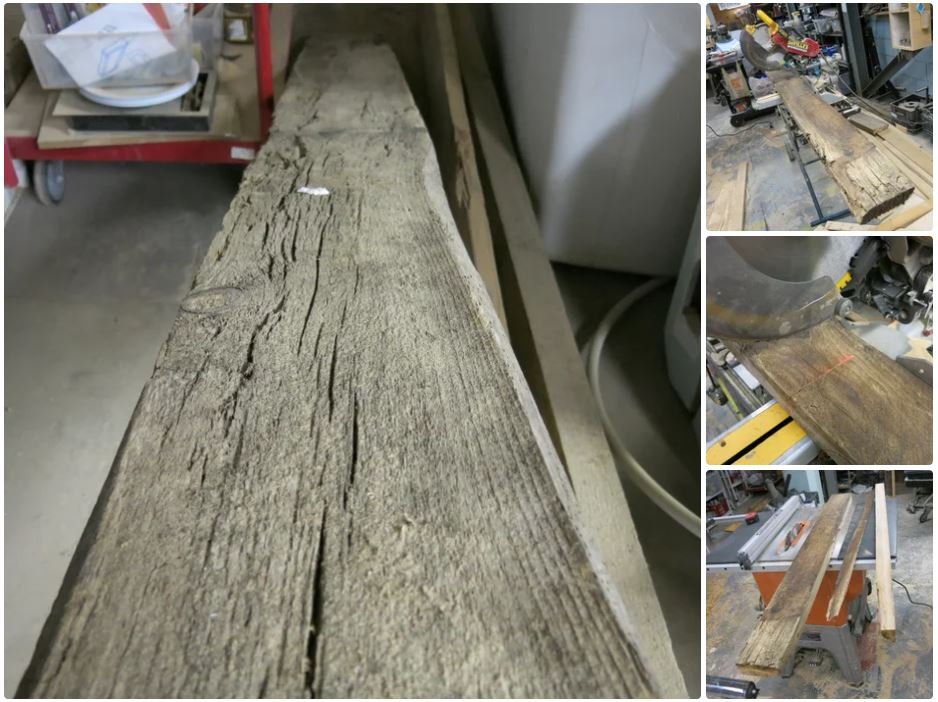
The first step was to check the wood for nails and splits and rotted pockets.
Then, once that's sorted, I cut the 12' long boards down to 56" in length (I wanted my final table to be 50" long so I added 3" to each end, this way I could cut all the joined pieces evenly later).
I then ran them through the table saw to shave off any broken edges, knowing that I would still have to joint them later to achieve a clean 90 degree edge.
Step 3: Plane the Boards

Note: As an Amazon Associate, I earn from qualifying purchases.
I ran the board through a 13" thickness planer.
I don't have a wide jointer for the initial run and was thinking that in the future I could make some kind of MDF 'sled" that the boards could attach to for their initial run, thus permitting the planer to shave off a uniform level without being subjected to twists in the wood.
Next time!
Step 4: Jointer the Edges

My gal Tina is pressing the planed surface of the board flush to the guide rail on the jointer; we are hoping that this technique will assist in keeping the edges 90 degrees.
Step 5: Clamping and Gluing

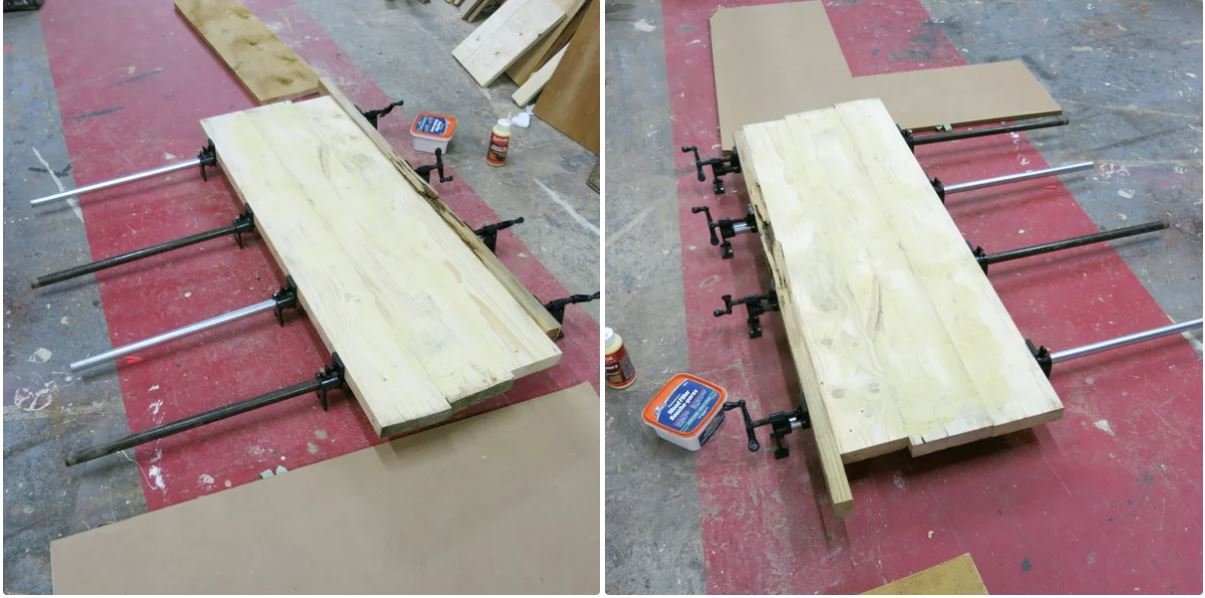
Now that the surfaces are planed and squared up I've slopped on a hefty amount of carpenter's glue and clamped the boards together.
I was going to biscuit join them but my neighbour (a carpenter) told me not to bother; he said with the glue I'm using and the surface area I'm clamping the boards will break before the glue seam ever does.
Step 6: Staining and Top Coating

I'm using a Minwax stain and the wood is soaking it up like a sponge. But only in some areas; knots and other dense areas of grain are staying really shiny and glossy. Grrrr... I want an even coat!
Also, now that the stain is on it seems to bring out what almost look like burn marks in the surface?
The urethane top coat is doing the same thing; it's sucking up in some areas and others are staying shiny. Kind frustrating. I'll wait 8 hours then sand it and wipe it off and then try another top coat.
All in all I'm not sure that I'm as happy with the stain and top coat. I normally use water-based stains and seem to have better luck with them.
Step 7: Finished

instructables.com/Build-a-table-from-old-barn-board
I hope you enjoyed this project as much as I did and I hope this Instructable was helpful!
