Wood Towel Holder
Note: All projects performed following instructions found on this site are done at your own risk. Learn more
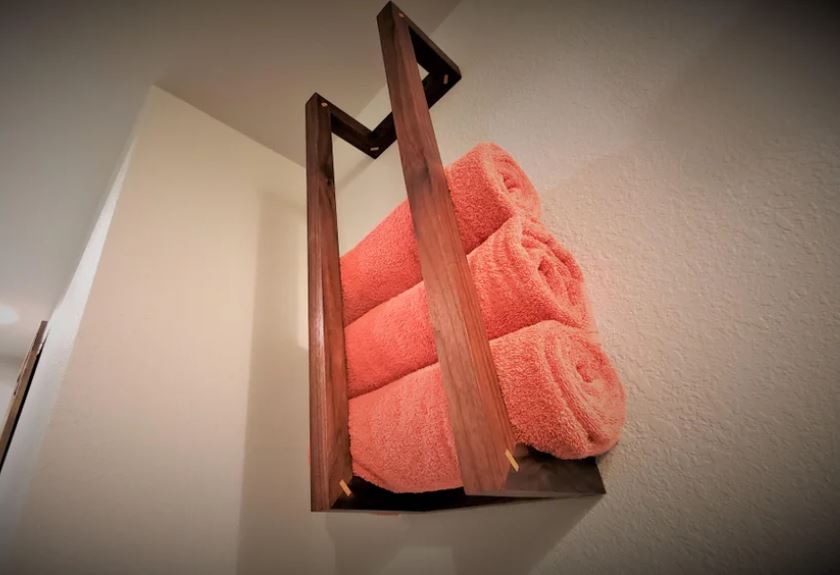
Today I'll be showing you how to make a DIY wood towel holder with case miter joints! This custom towel holder holds up to 5 towels. I used Fusion 360 3D CAD software to design the towel holder.
This also allowed me to figure out my miter joints. If you just used brad nails instead of case miter joints, its a relatively easy woodworking project and can be done with minimal tools.
I however got a little more fancy and used case miter joints (spline miter joints) made from hard maple. The main towel holder is made from walnut wood.
I mostly used my miter saw, my DeWalt table saw (DWE7491RS) and my Ridgid orbital sander. Finally, I finished the towel holder with Mr Cornwall's Super Duper Everlasting Oil.
Main Features
-Walnut wood
-Case miter joints with maple splines
-Holds up to 5 towels
Supplies
- 1 1/2" x 1 1/2" wood
- Scrap contrasting wood for splines (optional)
- Wood glue
- Mr Cornwalls Super Duper Everlasting Oil (Or any other finish you like)
- Brad nails
- Table saw
- Miter saw
- Sander
Note: As an Amazon Associate, I earn from qualifying purchases.
Step 1: Design


Important: Before doing anything, watch the reference video in its entirety. It will give you a very good understanding of the project before you start.
When you're ready to start, buy however many towels you want and roll them up like you would when they are in the holder. Then measure the length and diameter. Now, design the towel holder using either 3D CAD software or a sketch.
I've included an image of the rough dimensions of my towel holder that holds 5 bath towels.
Step 2: Cut Pieces to Rough Size & Fill Holes/Knots


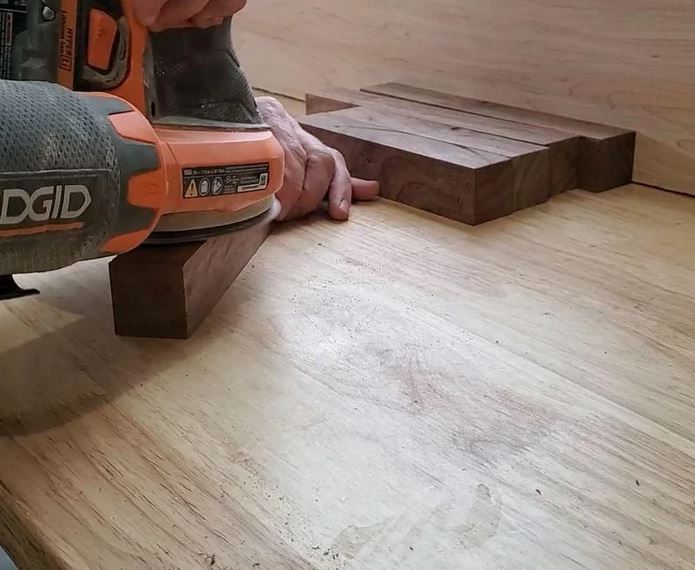
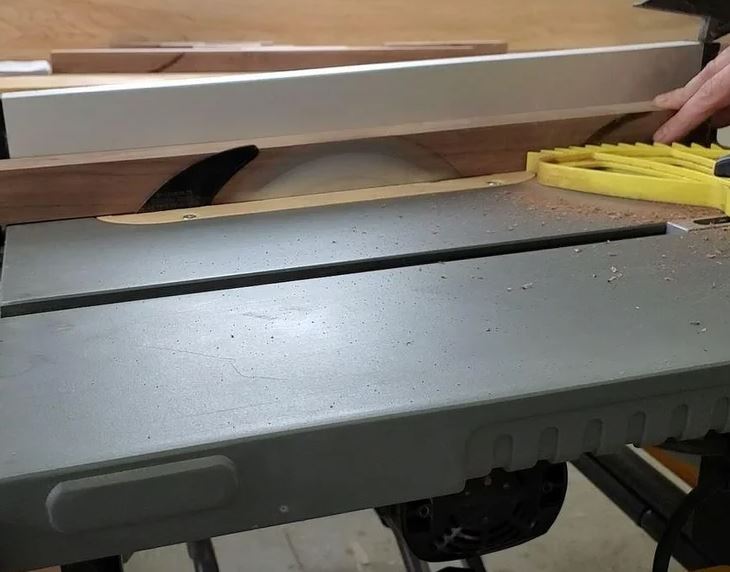
Now cut all the pieces in the miter saw to about 1/4" longer than the final length. This is a good time to fill any knots or holes. Then, run them through your table saw to get your final profile size.
This milling operation also cleans up the workpiece. In this case I was using a 1 1/2" thick board that I ripped down to be 1 1/2" thick.
Step 3: Cut Miter Cuts
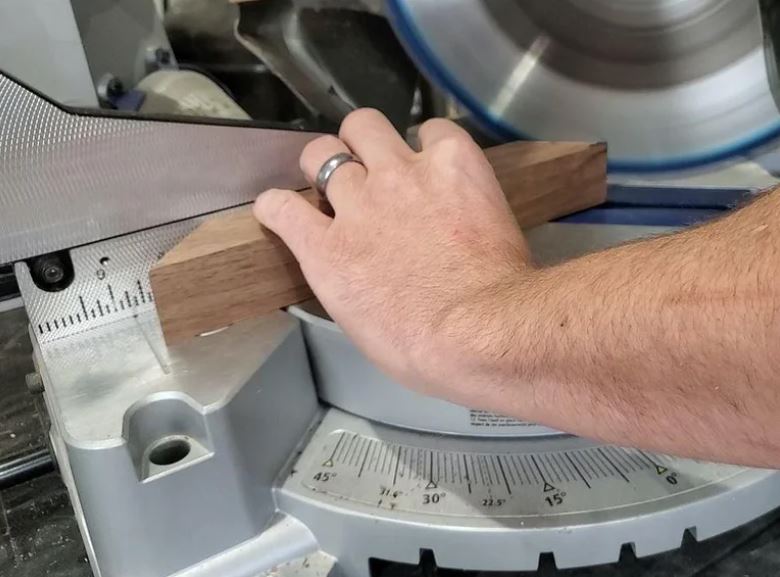
Now cut the 45 degree miter cuts in the direction you came up with in your plans.
Be sure to check that your saw is cutting a nice 45 degree angle before making your cuts.
It's a good idea to lay out the pieces as you're going to make sure everything looks right.
Step 4: Make Case Miter Joints (Optional)
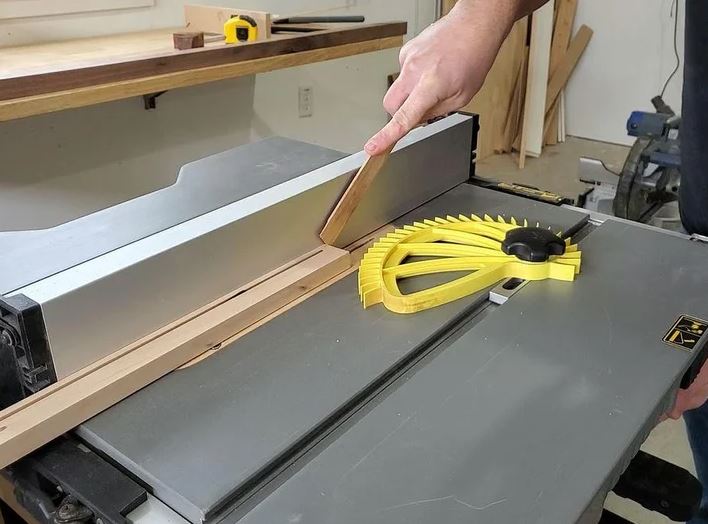

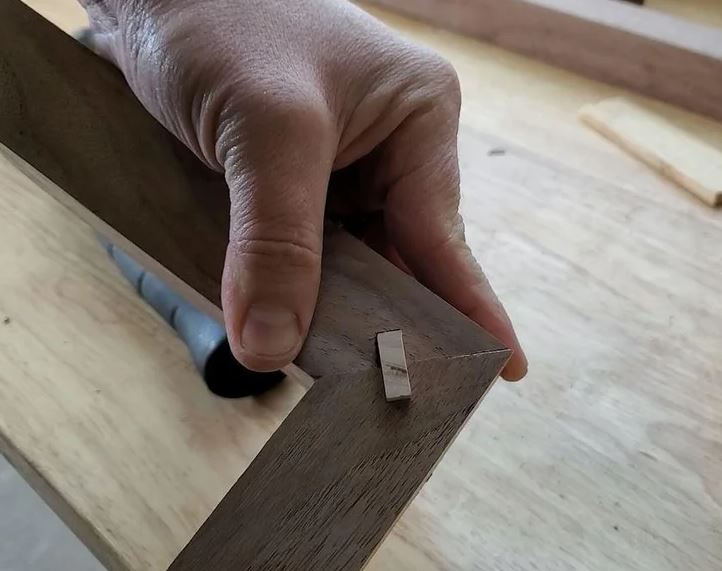
This is an optional step. If you choose not to do this, you can assemble using wood glue and brad nails.
If you choose to use case miter joints, then the first step is to rip down the spline material to about 1/4". You can make it thicker or thinner. It is your preference.
Measure how thick your spline material is and then cut the slot into the miter as shown.
This will be done in 2 cuts with the blade set perpendicular to the miter face at 45 degrees.
You will cut all pieces with this set up. Then adjust your fence and blade depth to make the slot wider.
I highly suggest practicing on a some test pieces. The reference video should be very helpful for this part.
Step 5: Assembly
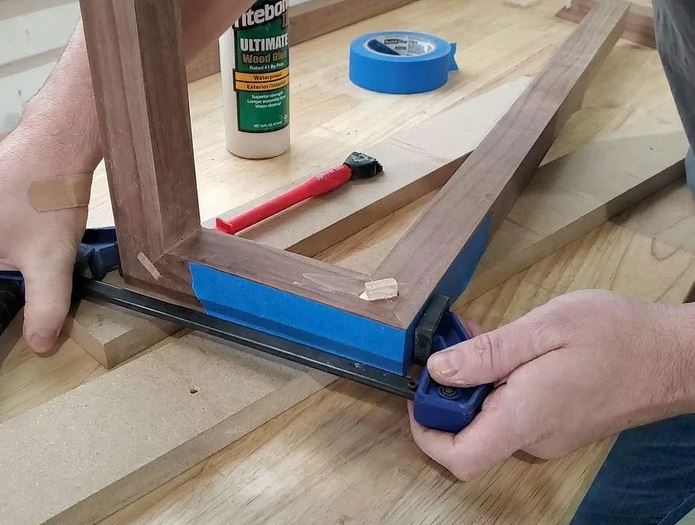

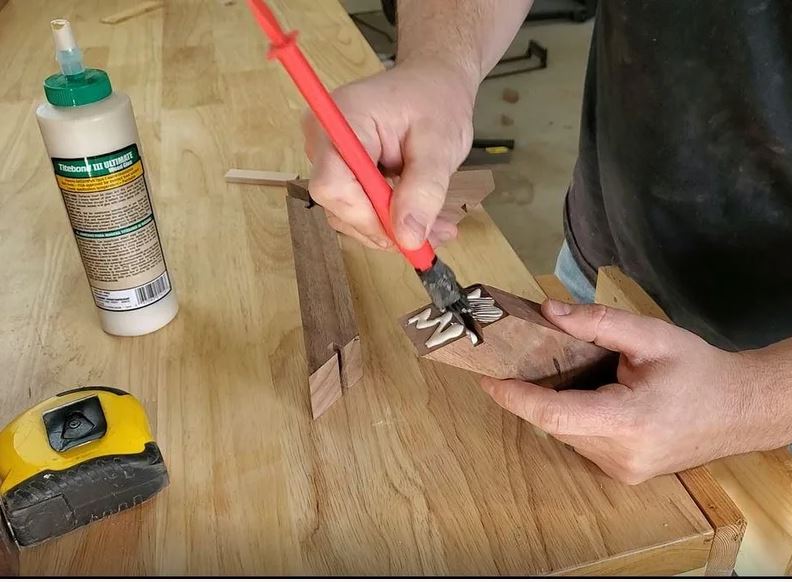
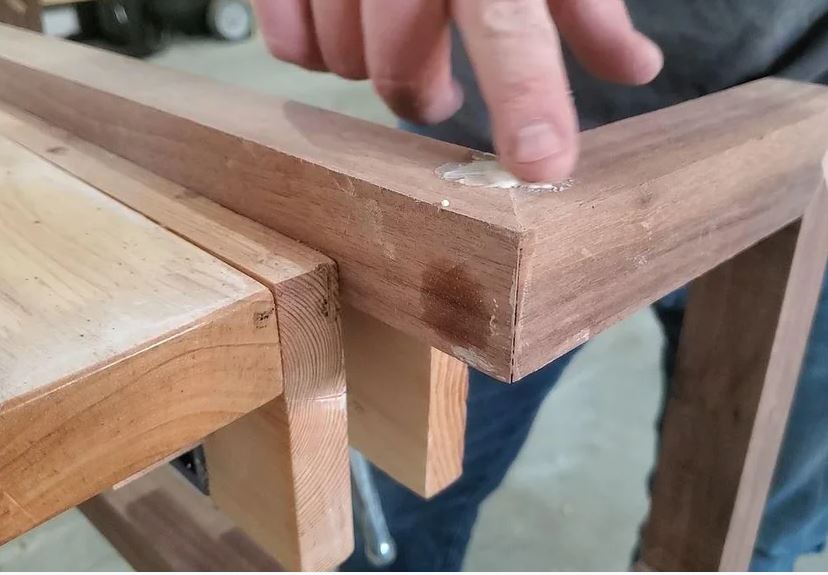
If you're using brad nails, assemble using wood glue and brad nails. Let dry for 24hrs.
If you are assembling using case miter joints, then start by dry fitting all of your joints.
If any splines are tight, sand with sand paper on a paint stick until it fits snug, but not tight.
Next, apply glue to the faces and all sides of the slots on both sides of the joint.
Insert the spline and then use masking tape and a clamp to hold the joint together while the glue dries.
Repeat these steps until the holder is completely assembled. Now let it dry for 24hrs.
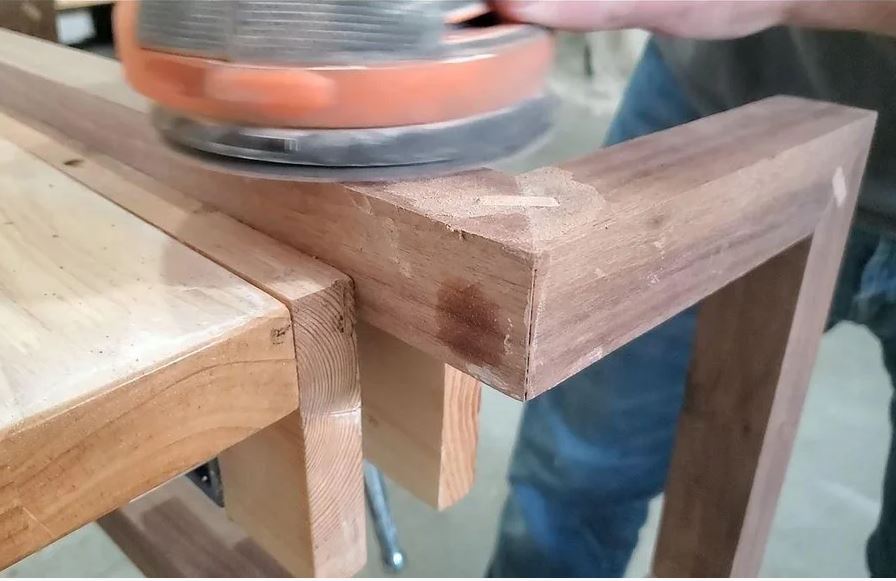
Once dry, cut the splines flush with a pull saw, then sand smooth. If there are any gaps, rub wood glue into the gaps and then sand again.
The sanding dust will mix with the glue to create the perfect colored filler. Repeat as as needed.
Step 6: Final Sanding

Sand using 80, 120 and 220 grit sand paper until smooth.
Step 7: Mounting Holes


Buy the mounting hardware you want to use and then drill counterbored holes. Start by using a forstner bit to drill a hole just larger than the head of the screw, about 1" deep.
Then use a smaller bit just bigger than the threads to drill a hole the rest of the way through.
When mounting, you should try to hit one stud and then use drywall anchors for the other 2 screws.
Step 8: Apply Finish
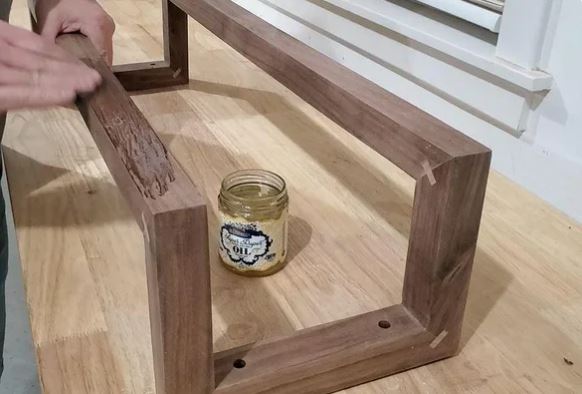
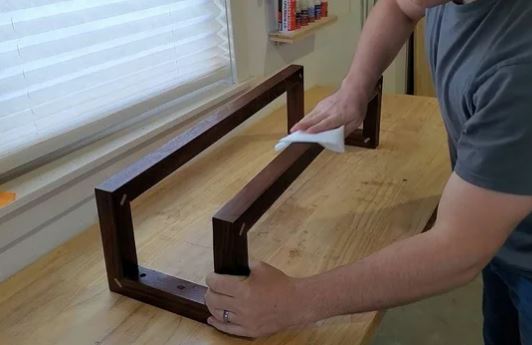
Finally, apply the finish of your choice.
I used Mr Cornwalls Super Duper Everlasting Oil. To apply this finish, use the supplied abrasive pad to work the oil into the wood, then let the oil sit for 30 mins and wipe off the excess.
Wait 24hrs and then repeat these steps. Let the towel holder sit for another 24hrs before installing.
Enjoy your classy farmhouse style towel holder!
