9 Ingenious Ways To Make Your Small Shop Feel Bigger
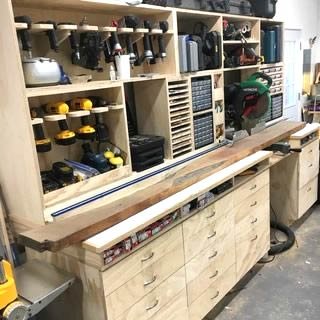
A small workshop can feel cramped, but with a few clever tips your shop will feel bigger and shop time will be more enjoyable.
Setting up a small workshop can be more challenging than setting up a large workshop. Square footage is at a premium, so it’s critical to make the most of your limited space.
My goal with Ultimate Small Shop is to prove that you don’t need a HUGE workshop to DIY or to build quality DIY furniture or crafts.
No matter if your small workshop is in your basement, garage or shed the floor plan isn’t as important as how you make the best use of your limited space
The big question is how can you make the best use of your tiny space AND make your shop feel as big as possible.
For me, there are three things that contribute to making a small workshop feel even smaller:
- Too Dark – Poor lighting and dark walls can make a workshop feel unnecessarily small.
- Oversized Workshop Furniture – Workshop furniture that is not properly scaled to the size of the space will make a small workshop feel even smaller.
- Poorly Organized – Disorganized spaces feel cluttered and cramped. Organized spaces no matter the size feel large and spacious.
With some careful planning, space-saving workshop furniture, and a little organization your small workshop can feel bigger and DIYing in your shop will be easier.
Plus, a well thought out small workshop will make spending time in your shop more enjoyable.
1. Paint Your Space
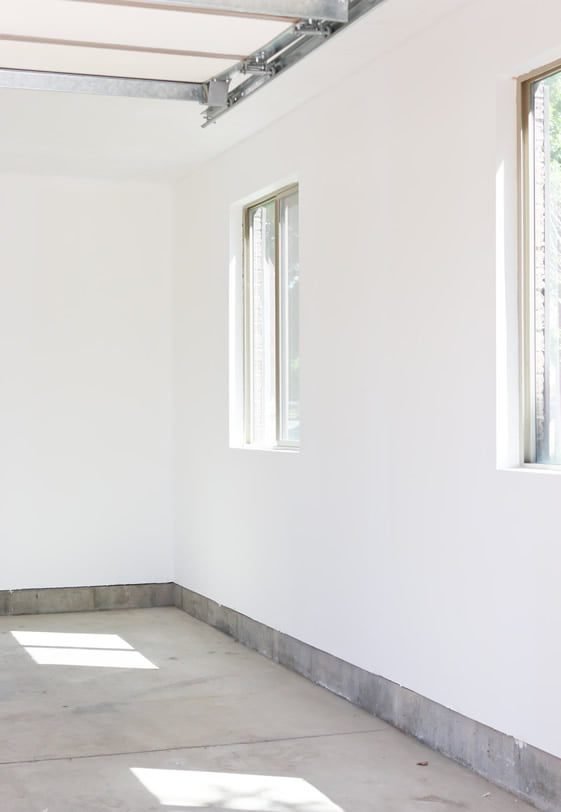
Our old space had shop walls that were dingy, scraped and scuffed. Who cares what our workshop walls look like, right? It’s just a workshop! That’s what I thought, so I loaded up the shop with tools and workshop furniture.
The fact is after working in the shop for a bit those dingy, scraped and scuffed walls got kind of depressing. Not only that, the shop was dark and uninviting which made me not want to spend a lot of time in there.
So, I painted the walls a gloss white. The dingy, scraped and scuffed walls were gone replaced with crisp, white walls which are fresh and inviting.
The small workshop now feels larger and airier. The gloss white paint helps to reflect the light and makes the space brighter. The shop not only looks clean but thanks to the slick, gloss paint it’s also easier to clean.
2. Let There Be Light
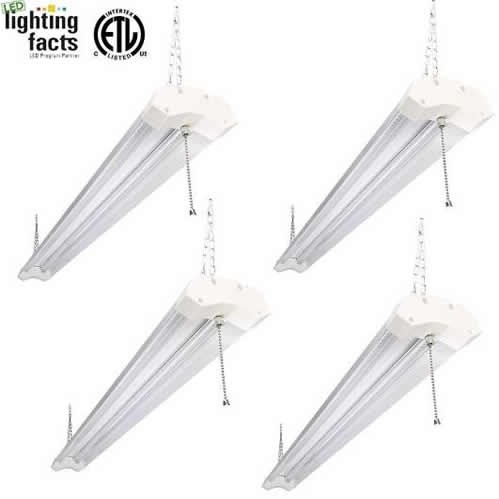
The previous space has five fluorescent shop lights in the workshop, despite the lights the space was very dark.
It reminded me of working in a cave. I installed four additional fluorescent shop lights but the shop was still dark. Painting the walls gloss white helped to brighten the small workshop but still wasn’t as bright as I had hoped.
Last year I removed the fluorescent light fixtures and replaced them with bright LED light fixtures. The difference is literally like night and day! Now the small workshop feels larger and is sooo much brighter.
I went from feeling like I was in a cave to what now feels like working on the set of TV studio! Replacing old shop lights with LED shop lights will brighten your space and make your small workshop feel larger.
3. Make Your Tools Mobile
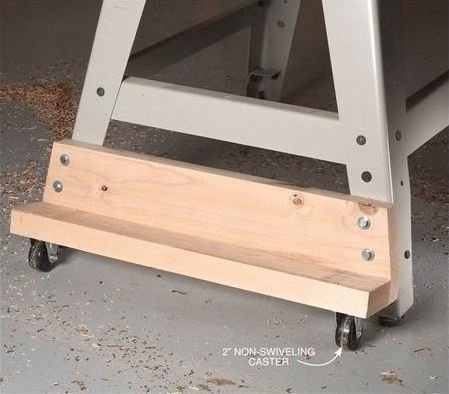
Making your tools mobile in a small workshop is not just a good idea, but it’s a necessity to maximize your workshop space.
For some furniture projects, I pull out all of my tools… pull out the table saw and push it back, move the router table to the left, shift the workbench to the right, etc. Sometimes I feel like I’m playing a life-size game of Tetris in my shop!
It will make your small workshop feel larger, will make the layout of your shop more flexible and will maximize your limited workshop space.
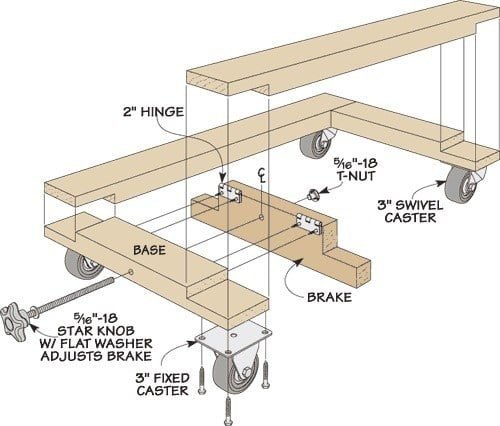
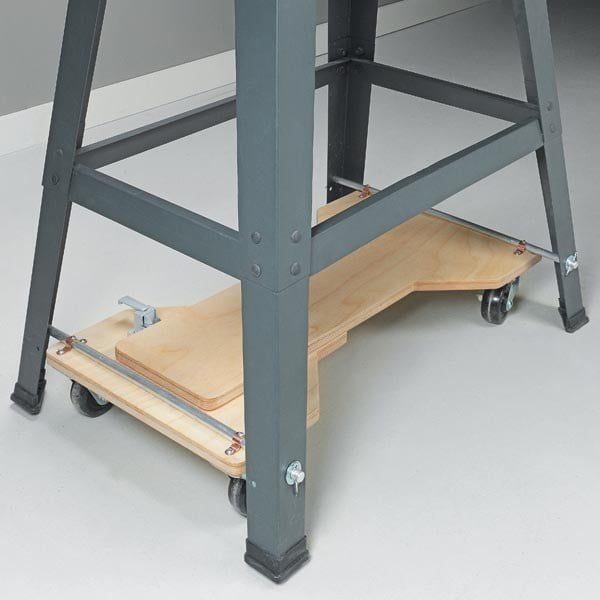
Here are some ideas on mobile bases you can use:
4. Build A Portable Workshop
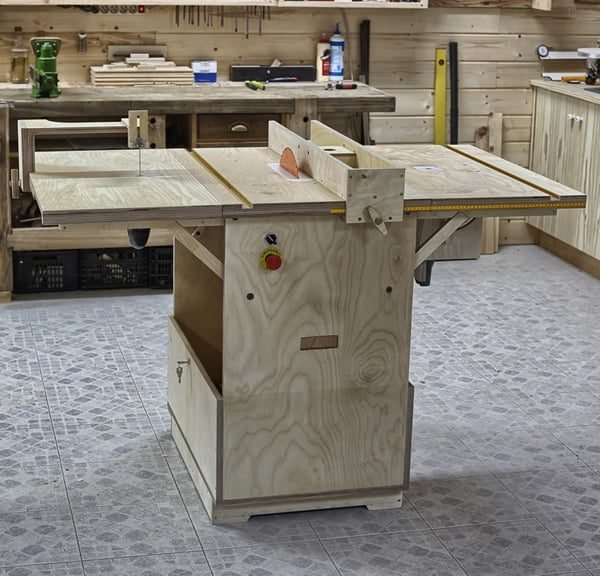
Every small workshop needs an "all-in-one" work bench.
This portable workshop on the left is perfect for those with a small workshop. You can get plans for this in our new guide "Ultimate Small Shop".
For those with small garages or those who do not have permanent shelving or storage in their work spaces, this portable workshop will be very useful.
It is easy to set up and folds down when you're done. It includes wheels, functions as a saw table, router and scroll saw.
It even serves as a compact cabinet to store your tools.
5. Build A Mobile Workbench

If you tackle ambitious projects often and require larger materials and more room for maneuvering, a small workshop won't cut it.
That's where the Ultimate Mobile Workbench comes in. This design incorporates a vertically adjustable and expandable workbench top.
This allows you to bolt-down larger bench-top power tools, a ton of interior storage via shelves, drawers and a pegboard wall, and a sturdy tank-like structure that provides safety and dependability in a mobile form that allows you to work on your projects virtually anywhere.
Again, you can get plans to build this with my new guide, Ultimate Small Shop
6. Build A Space Saving Table Saw

Who wouldn’t want one of those large cabinet style table saws? Oh man, all of that surface area makes ripping plywood a breeze!
Oh yes, those of us with a small workshop definitely want one, but because of the size of our shops, they simply won’t fit. That’s why most of us with a small shop end up with a benchtop table saw.
But there is a way to create more workspace on our benchtop table saws. A DIY table saw station provides more support when cutting on a table saw. A table saw station virtually turns our benchtop table saw into a cabinet style saw.
Get plans to build your own table saw stations that is perfect for small workshops.
7. Use A Mini Workbench

Another way to make use of your small workshop is to use a mini workbench like this one on the right.
This mini workbench features a really thick and sturdy top, a woodworking vise with jaws dressed in leather, dog
holes and t-tracks for all sorts of clamping options.
It also has sturdy feet covered in thick rubber which makes it
very stable and the bench stays put while using it to saw or chisel on. Get plans to build this with my guide.
8. Deal With Your Scrap Wood
Nothing makes a small workshop feel even smaller than being surrounded by piles of scrap wood. I’ve struggled with scrap wood ever since I started building DIY furniture. Sure, I have made lots of projects with scrap wood, but at some point, you have to let some of it go.
Constantly moving piles of scrap wood, or worse yet tripping over piles of scrap wood is not only a safety issue, but it makes a small workshop feel cramped.
The quicker we can make decisions about what scrap wood to keep and what to toss, the quicker we can get back to our DIY projects! Establish a what to keep and what to toss policy. It will make your small workshop safer and more organized. After you've decided what scrap wood you're going to toss, you will need to organize and store the scrap wood.
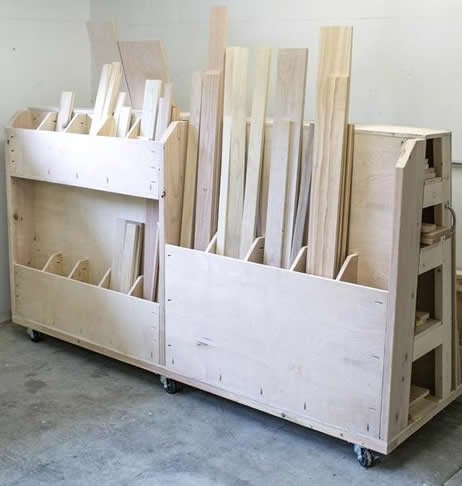
There are many methods of storing wood in small workshop. One of them is using a storage rack like the one on the right.
9. Organize Your Clamps

You know what they say. You can never have too many clamps, but finding a place to store those clamps in a small workshop can be tricky.
And no, piling clamps on a workbench is not an option!
Wall space and floor space are always at a premium in a small shop so we have to get creative with our storage
Using a proper clamp storage solution will help you free up space and makes it easy to find your clamps when you need them
More Inspiration For Your Shop:
Want some more space-saving ideas for your small workshop?
Then you'll love my new guide, Ultimate Small Shop. In it, you'll discover how to setup a fully equipped wood shop for just under $1,000...
....including a shopping list of the best tools and where to buy those tools for the lowest price… along with floor-plans for optimized layouts in spaces as small as 8'x8'!
